Viewing Smart Forms
To view a Smart Form, follow these steps.
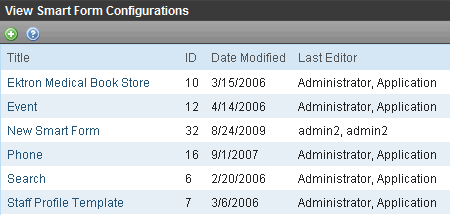
1. In the folder tree on the left side of the Workarea, go to Settings > Configuration > Smart Form Configuration.
2. Click the form you want to view.

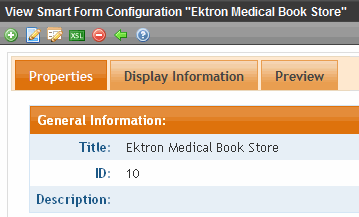
The View Smart Forms screen appears with a more detailed description of the configuration.
Smart Form Created with Data Designer

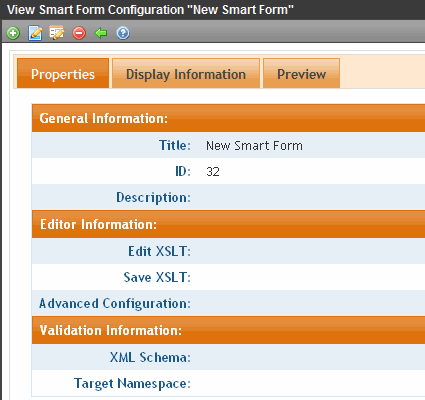
Smart Form Created with External Files

The View Smart Form screen has three tabs.
Each tab is explained below.
After viewing, you can perform the following actions on the Smart Form.
|
Button |
Name |
Description |
More Information |
|
|
Edit |
Edit a Smart Form |
|
|
|
Edit Data Design |
Open Data Designer |
|
|
|
Add Smart Form |
Create a new Smart Form from scratch or based on an existing one |
|
|
|
View XSLT |
Display a Smart Form’s XSLT |
|
|
|
Delete |
Delete a Smart Form |
|
|
|
Back |
Return to previous screen |
|
Properties Tab
|
Field |
Description |
|
Title |
Name given to Smart Form. |
|
ID |
ID number assigned by Ektron CMS400.NET upon creation of the configuration. |
|
Description |
Detailed description of configuration given by creator or last editor. |
If the Smart Form was created using external XML files (instead of the Data Designer), the following information also appears:
Editor Information
Note: This section only appears if you do not use the Data Designer to create your Smart Form.
The editor information contains the file names of the XSLTs used when editing and adding content in the editor.
|
Field |
Description |
|
Edit XSLT |
XSLT applied to the content when being edited. Note: If no edit XSLT is specified, the Edit Data Design option is enabled in the toolbar. |
|
Save XSLT |
XSLT used to transform the XML created in the editor when the Smart Form is saved to the database. |
|
Advanced Configuration |
XML file that contains display information, schema validation, and other advanced XML data. |
Validation Information
Note: This section only appears if you do not use the Data Designer to create your Smart Form.
You can validate the content created and edited with Ektron CMS400.NET with a schema if desired. The validation information contains information about the schema.
|
Field |
Description |
|
XML Schema |
Specify the .xsd file used to validate the XML content that the Smart Form will be assigned to. |
|
Target Namespace |
Specify the default namespace used for outgoing XML. |
Preview Tab
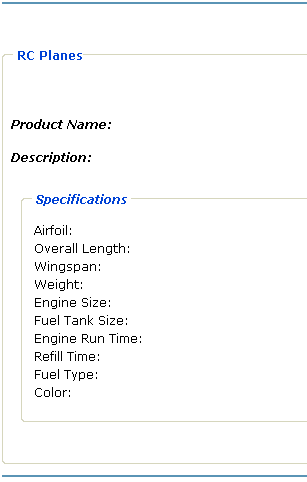
The Preview tab displays the XSLT applied to the editor when XML content is created. This is the XSLT that was created for the Smart Form.

Display Information Tab
The display information tab lists the XSLTs that are used when displaying XML in the respective environment.
|
Field |
Description |
|
XSLT1 |
Display XSLT 1 |
|
XSLT2 |
Display XSLT 2 |
|
XSLT3 |
Display XSLT 3 |
|
XSLT Package |
Display XSLT Package (created using the Data Designer) |
Note: When a Smart Form is created using the Data Designer, a default display XSLT is also created which looks similar to the edit XSLT created in the editor. This default XSLT can be applied to the XML content.
The asterisk (*) denotes the default XSLT for the Smart Form.
The tab also displays the Smart Form’s xpaths.


