Building a Personalization Web Page
This section explains the steps necessary to build a Personalization Web page. When building a Personalization page, the following server controls are used:
LoginView - See Also: http://msdn2.microsoft.com/en-us/library/ms178329.aspx
Login - See Also: http://msdn2.microsoft.com/en-us/library/ms178329.aspx
Login Status - See Also: http://msdn2.microsoft.com/en-us/library/ms178329.aspx
EktronCatalogPart - See Also: EktronCatalogPart Server Control
EktronCommunityCatalogPart - See Also: EktronCommunityCatalogPart Server Control
EktronWebPartZone - See Also: EktronWebPartZone Server Control
PersonalizationManager - See Also: PersonalizationManager Server Control
EditorZone - See Also: http://msdn2.microsoft.com/en-us/library/ms366516.aspx
CatalogZone - See Also: http://msdn2.microsoft.com/en-us/library/ms227557.aspx
WebPartManager - See Also: http://msdn2.microsoft.com/en-us/library/ms366728.aspx
Important: For a personalization Web page to work, a site user needs to be logged in to the site.
1. Create a new Web form for your site in Visual Studio 2005.
2. Drag a LoginView control from the Login tab in the toolbox.
3. Drag a Microsoft Login control into the LoginView.
4. Click the top of the LoginView control and then click the small black arrow.
5. Change the View to LoggedInTemplate.
6. Drag a LoginStatus control into the LoginView.
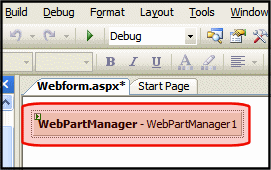
7. Add a WebPartsManager server control to the page. The WebPartsManager needs to be located first on the page, before any other Web parts server control.
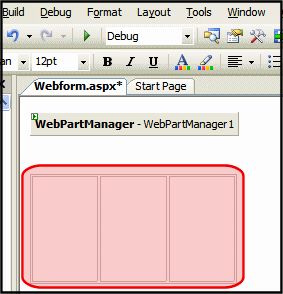
8. Add an HTML Table with one row and three columns.
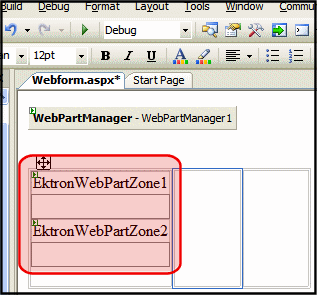
9. In the first column, add two EktronWebPartZones
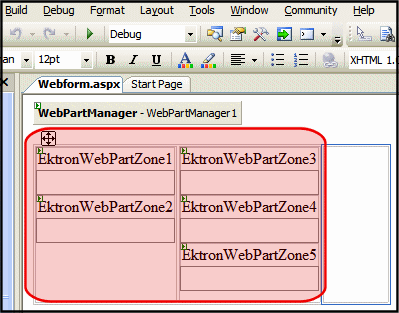
10. Add three EktronWebPartZones server controls to the second column of the table.
11. In the third column, add a PersonalizationManager server control.
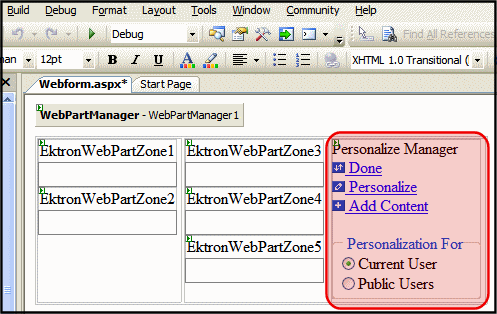
12. Add a CatalogZone server control below the PersonalizationManager server control.
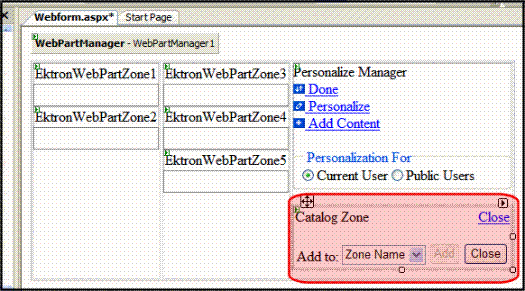
13. Drag and drop an EktronCatalogPart server control on the CatalogZone server control.
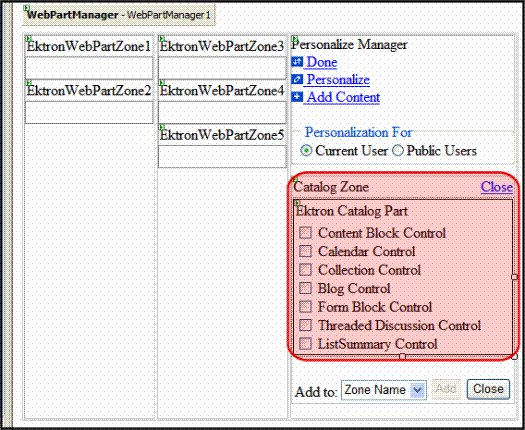
14. Add an EktronCommunityCatalogPart below the EktronCatalogPart.
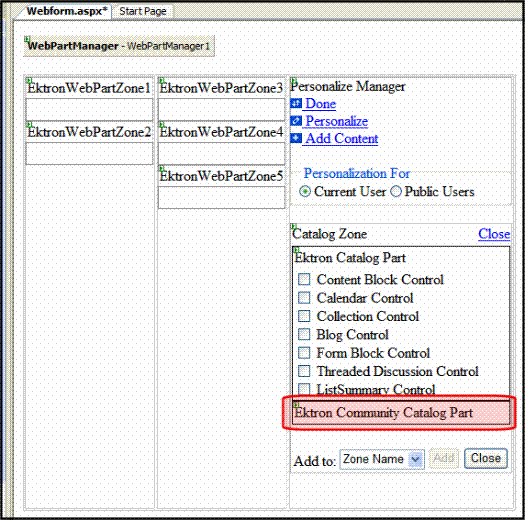
15. Add a EditorZone server control below the CatalogZone server control.
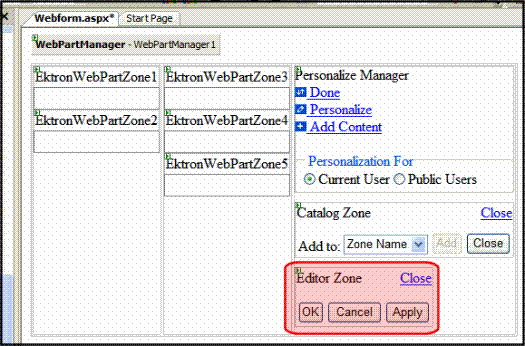
16. Build the page.
17. Congratulations! You now have a basic personalization Web page. To test this page, log in to the site and navigate to the Web page.
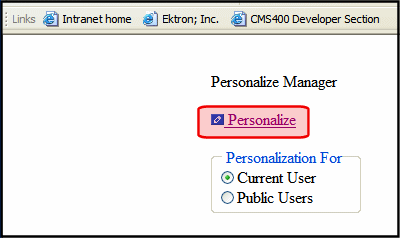
18. Click the Personalize link to start personalizing the page.
19. Once the Personalize link is clicked, the page shows the EktronWebPartZones and Personalization Manager selections
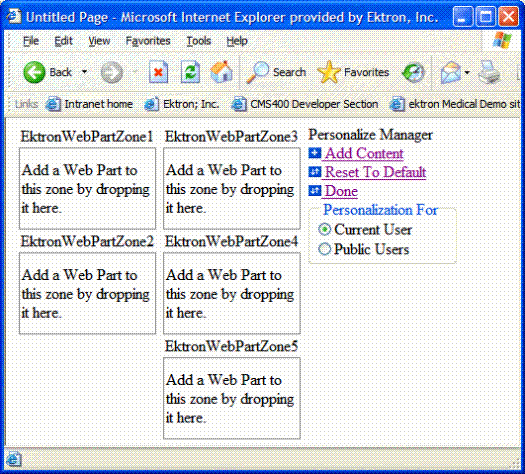
Using the Personalization feature to add, move, hide, and remove content is explained in . Review that section to learn how site users work with a Personalization Web page.
